前回はDeveloper登録までを行いました。今回は作成したアプリをApp Storeにアップする方法を説明します。
Contents
Xcodeの操作
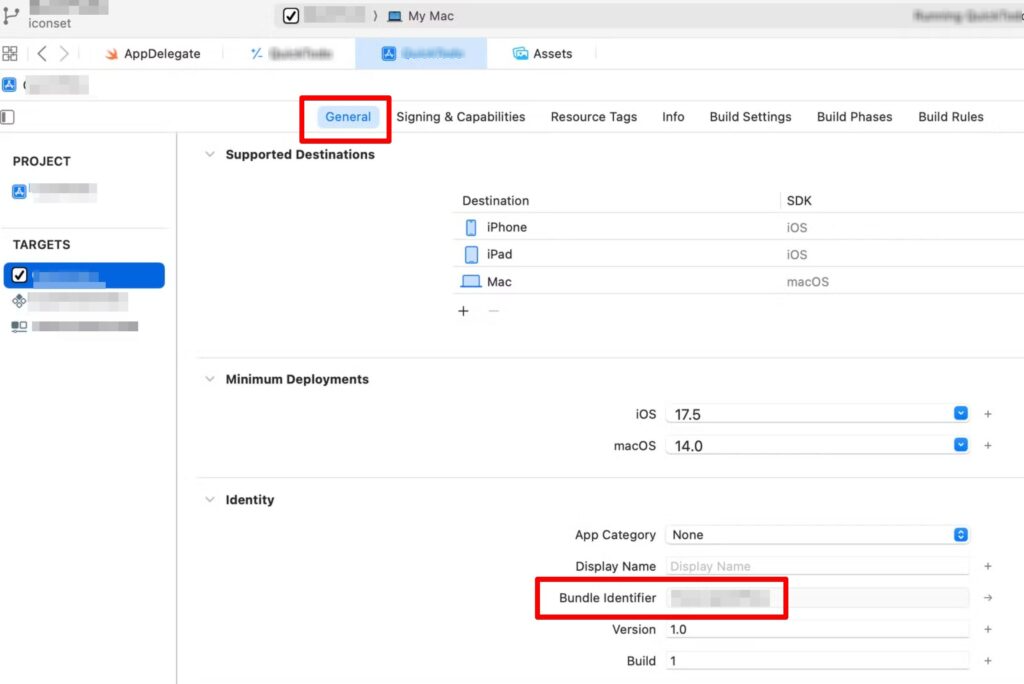
XcodeでプロジェクトのGeneralタブ→Identifierにある「Bundel Identifier」をメモしておきます。後で使います。
Cerrificates,Identifiers&Profilesの操作
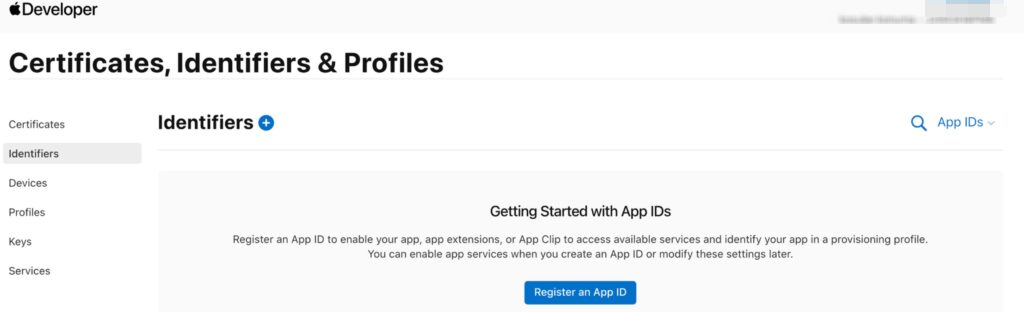
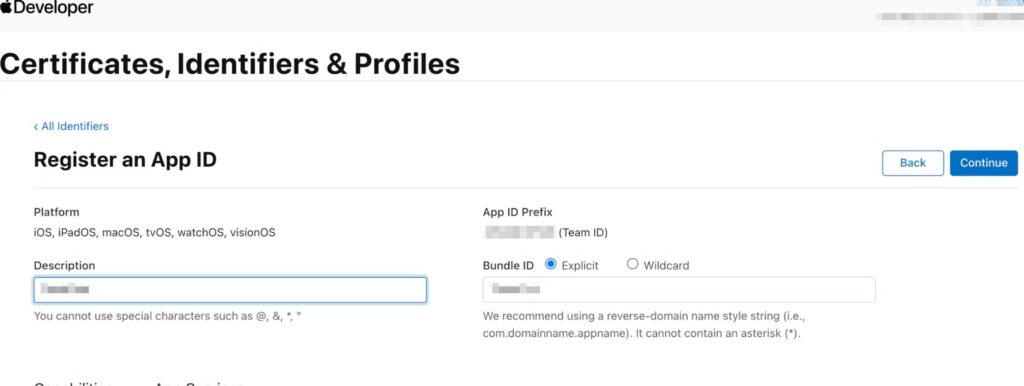
Certificates, Identifiers & Profilesにアクセスし、Identifiersの横のプラスをクリックします。
「App IDs」にチェックを入れてContinueをクリックします。
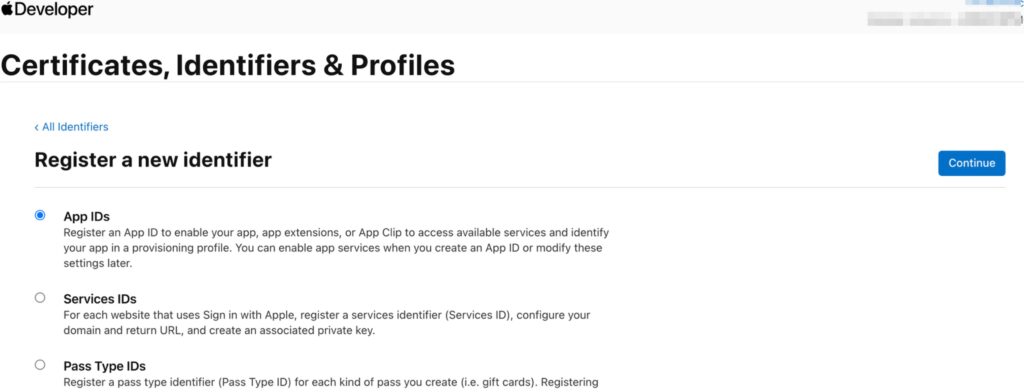
「App IDs」を選択してContinueをクリックします
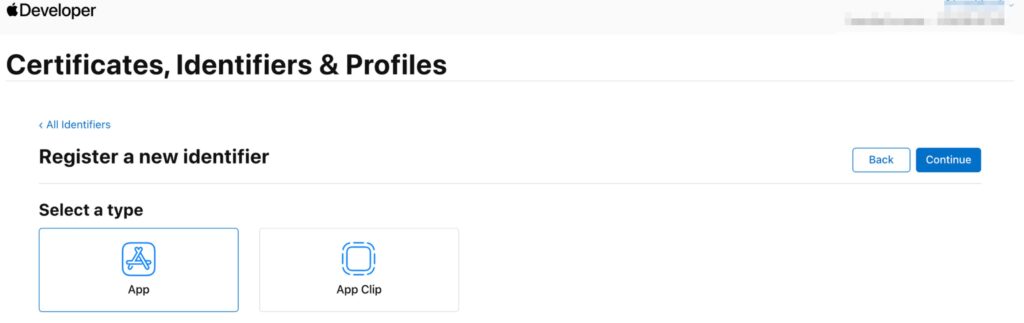
Bundle IDにXcodeで確認した「Bundle Identifier」を設定します。
ラジオボタンは「Explicit」
Descriptionは説明書きを入れておきましょう。
ここまで入力したらContinueをクリックします。
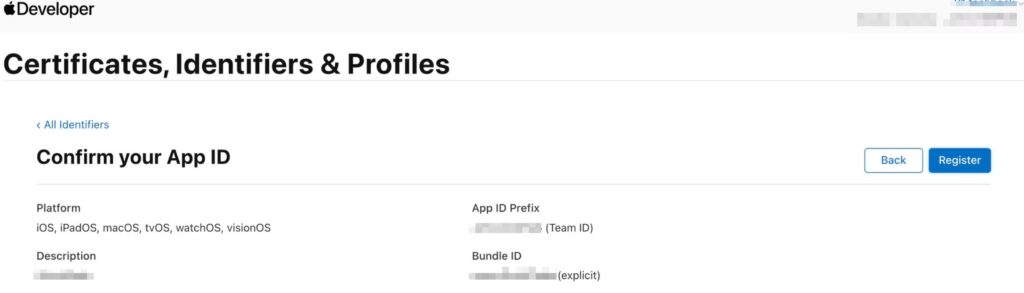
Registerをクリックします。
App Store Connectの操作
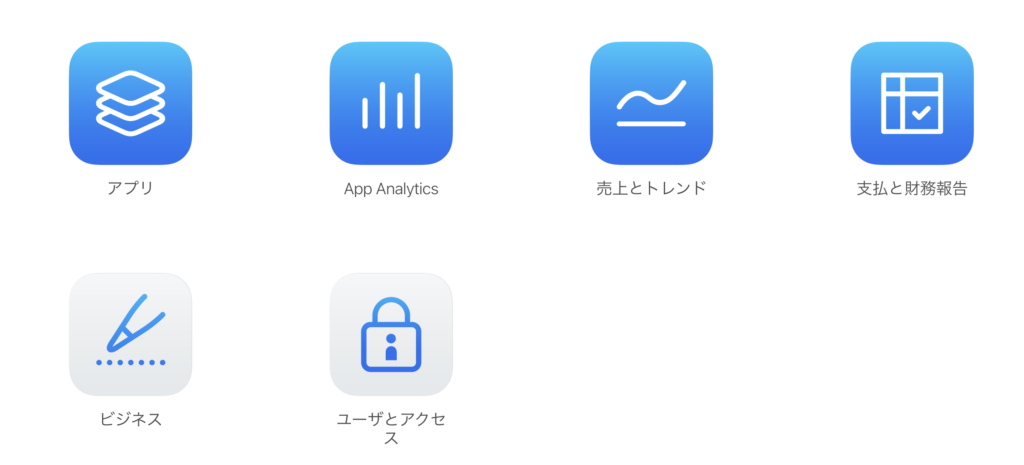
App Store Connectにアクセスして、アプリをクリックします。
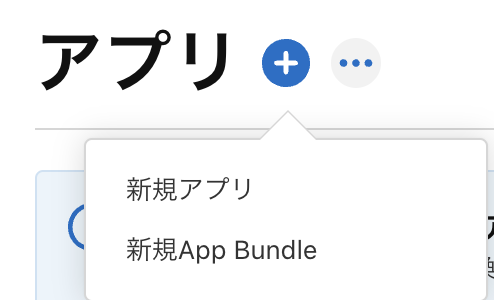
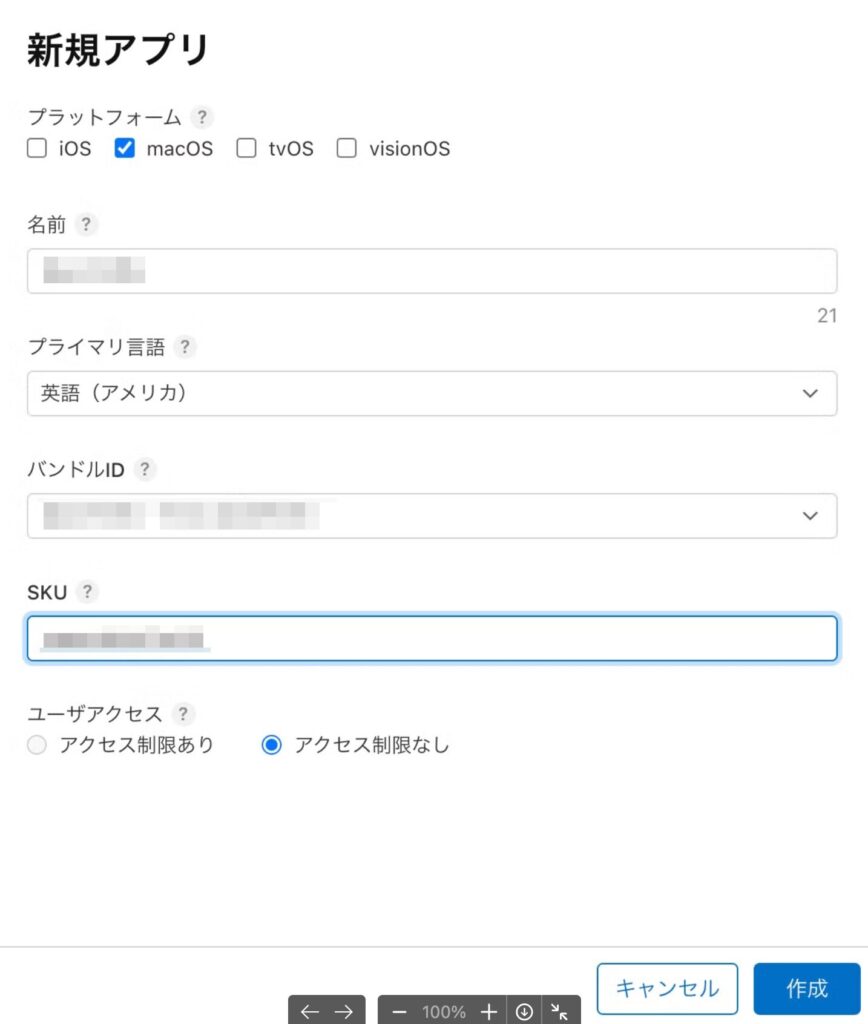
アプリ横のプラスをクリック→新規アプリ を選択します
新規アプリの登録画面が開くので、以下設定して作成をクリックします。
名前…アプリ名を設定します。
バンドルID…上で設定したIdentifierがプルダウン表示されるので選択します。
ここまででアプリの登録は一通り完了です!
XcodeからAppStoreConnectへビルドの登録をする
AppStoreConnectへファイル登録するため、Xcodeで設定をします
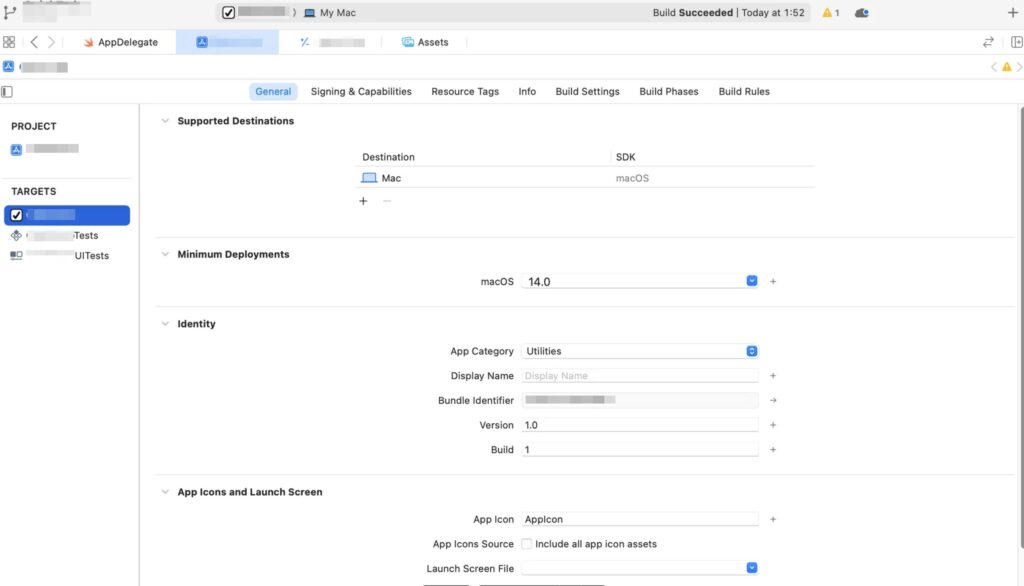
Generalタブの設定
- App Category…AppStoreのカテゴリを設定します。
- Version…初回は1.0。以後バージョンアップ等の更新時はカウントアップします。
- Build…初回は1。以後バージョンアップ等の更新時はカウントアップします。
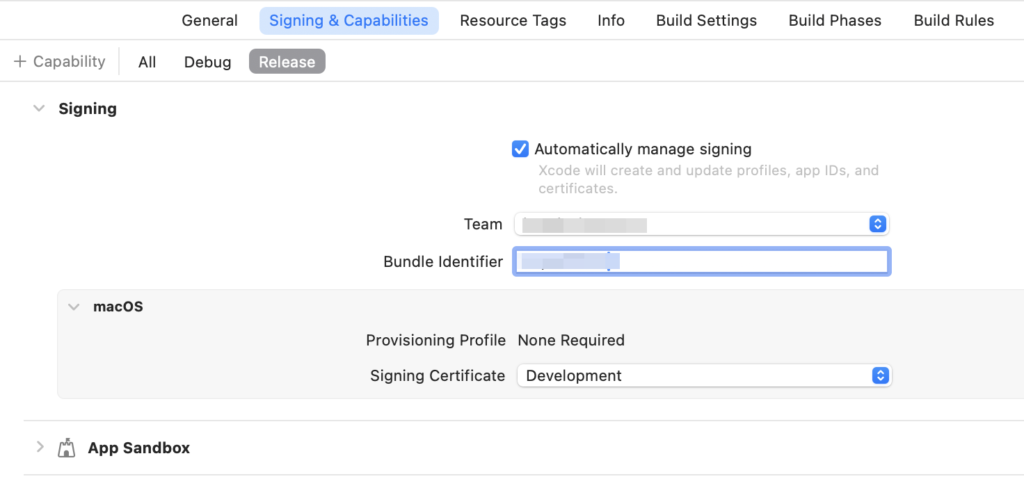
Signing & Capabilitiesタブ
- Team…AppStoreConnectログイン時のアカウントを指定します
- Bundle Identifier…ここは変更しないでください。
Archive
メニューバーのProduct → Archive を選択するとArchives画面が開きます。
Distribute App をクリックすると、AppStore Connectにビルドが登録されます。
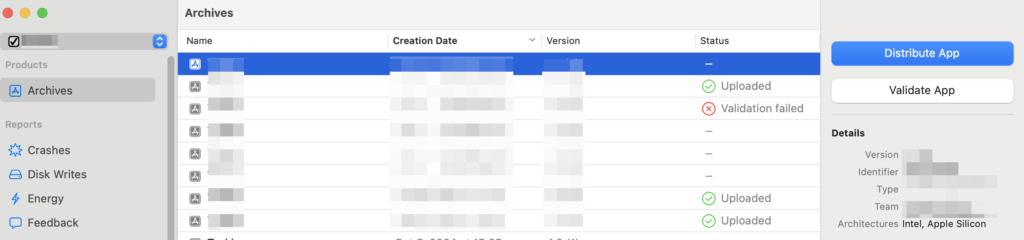
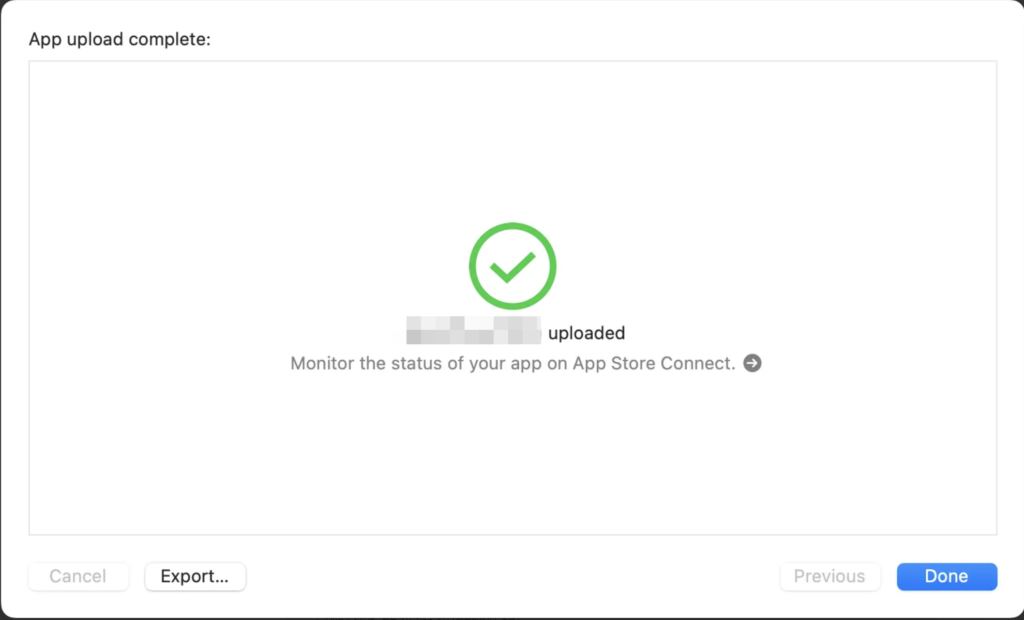
ビルドの登録が成功すると以下のような画面が表示されます。
Apple審査
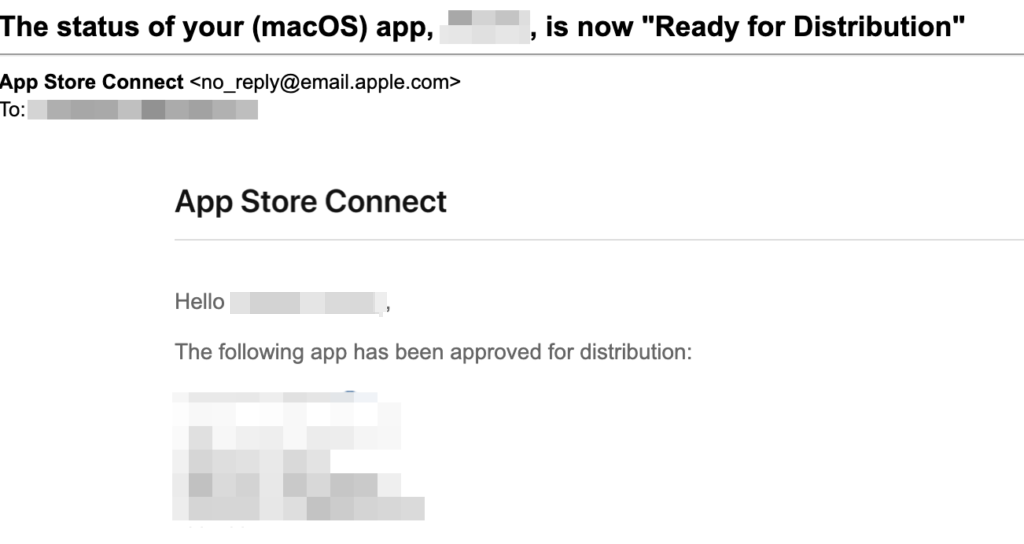
その後Appleから審査結果メールが来ます。
以下のように”Ready for Distribution”というメールが来たら無事審査追加です。
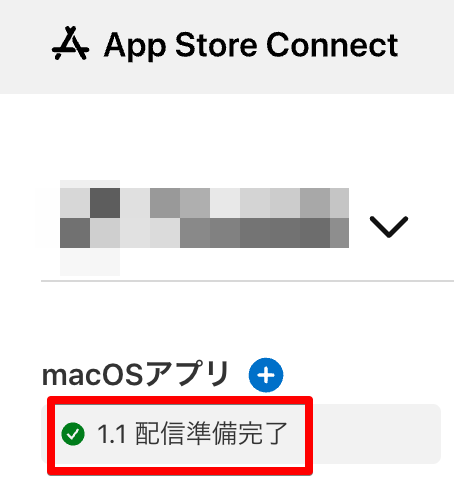
App Store Connectのアプリ画面も以下のように「配信準備完了」となり、ストアで配信開始されます。ここまでお疲れ様でした!