GitHubとAndroidStudioの連携手順を解説。ソース管理はGitHubでしましょう。
GitHubとAndroidStudioの連携手順を解説。手順通りにやれば迷うところはないはず。
ソース管理はGitHubで行うのが便利、というか必須級です。
前提として、AndroidStudioで連携したいプロジェクト作成と、GitHubのアカウント取得はしておいてください。
AndroidStudio→GitHubに連携
連携したいプロジェクトを開きます。
VCS → Import into Version Control → Share Project on GitHub をクリック

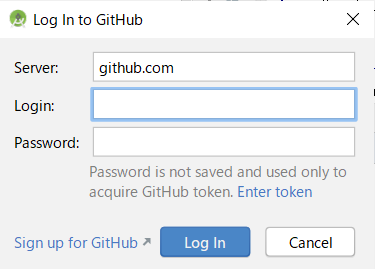
GitHubのログインIDとパスワードを入力して、Log in ボタンをクリック
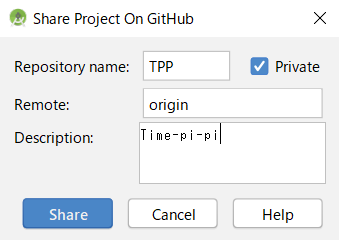
Shareボタンをクリック。
一般公開したくない場合は、Priveteの右のチェックボックスにチェックを入れておきましょう。
Descriptionはわかりやすい説明文をいれます。Repository name と Remote は初期値のままでOK。
もしこんなエラーが表示されても大丈夫。
Repository with selected name already exists

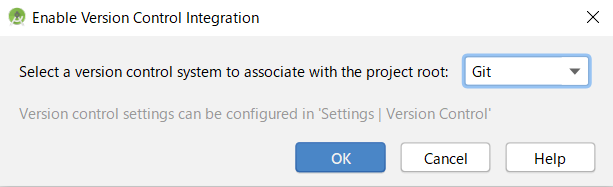
エラーが表示された場合は、VCS → Enable Version Control Integration をクリック
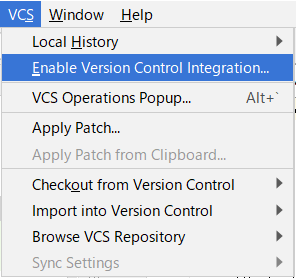
以下のウインドウが開いたら、ドロップダウンリストからGitを選択してOKをクリック
GitHubに連携
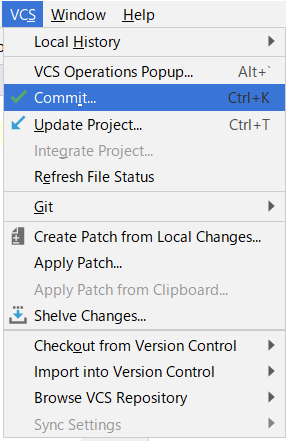
VCS → Commit をクリック
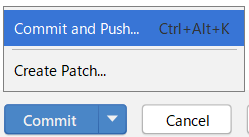
Commit横の▼をクリック
Commit and Push をクリック
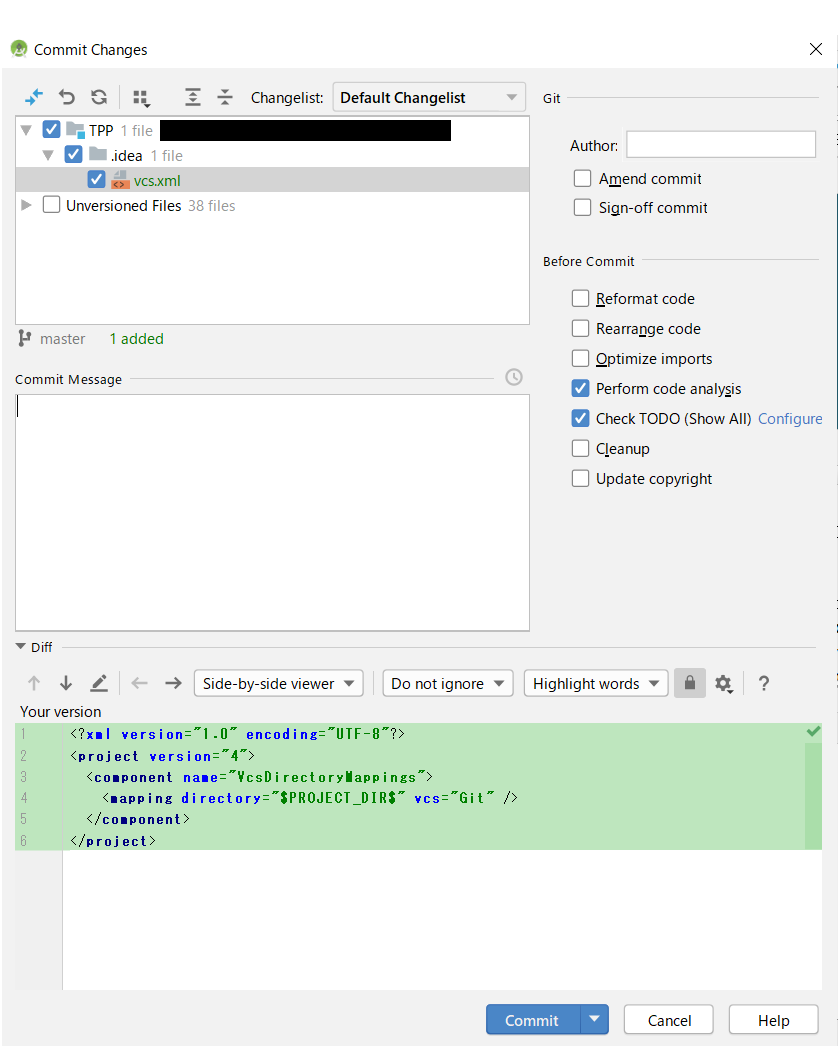
Commitボタンをクリック。必要であればコミット前にCommit Message に対応内容を書いておきます。
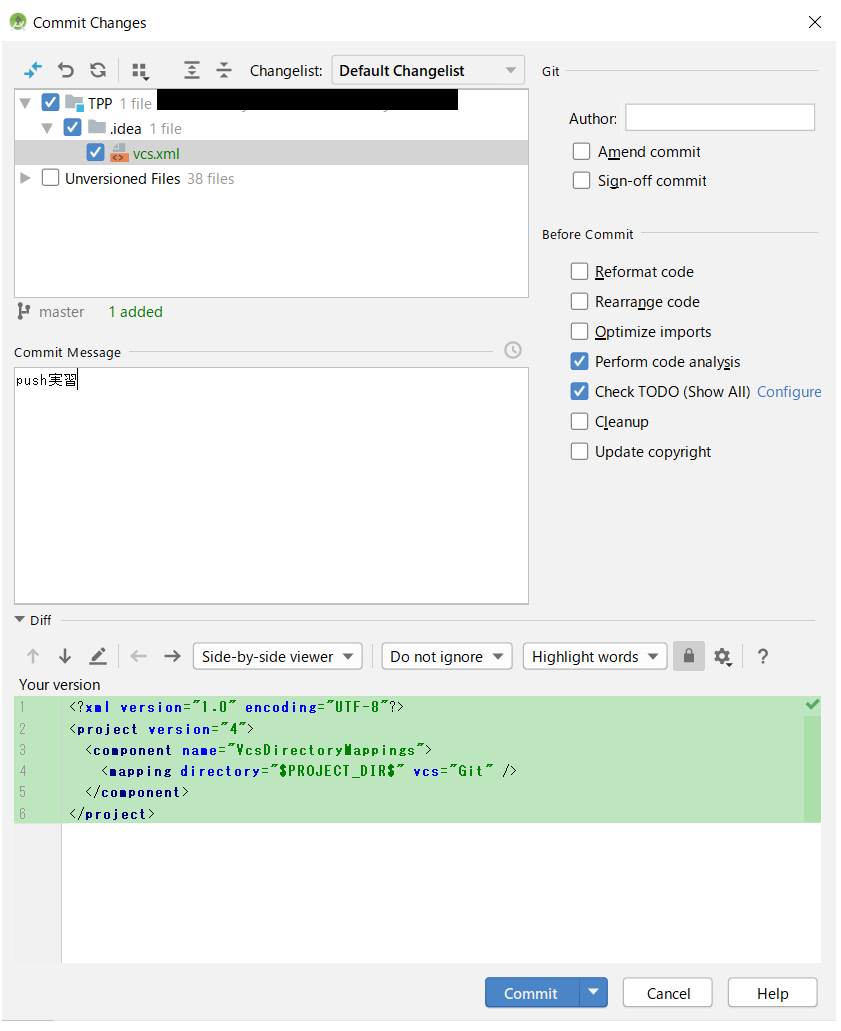
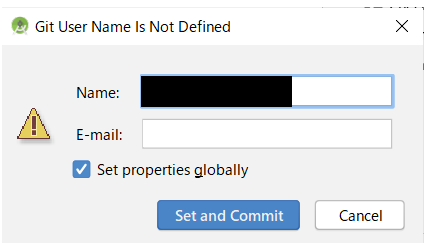
初回は以下ウインドウが表示されるので、初期値のままSet and Commitをクリック
以下のようにcommittedのメッセージが表示されれば成功です。

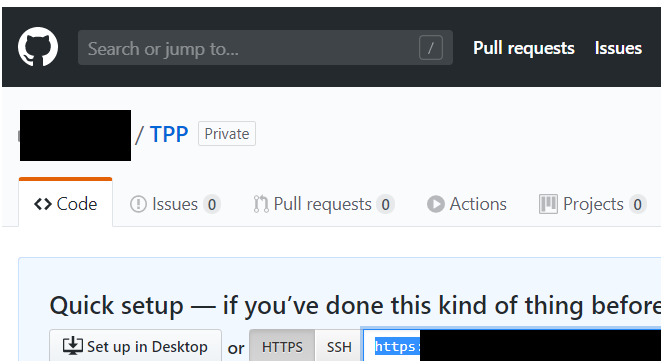
GitHubにログインし、先ほど連携したプロジェクトをクリックすると以下のようにURLが表示されるのでメモしておきます。
AndroidStudio側で、VCS → Git → Pushをクリックし、
Define Remote ウインドウで先ほどメモしたURLを設定してOKをクリック
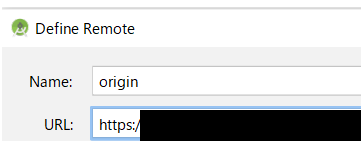
Pushをクリック
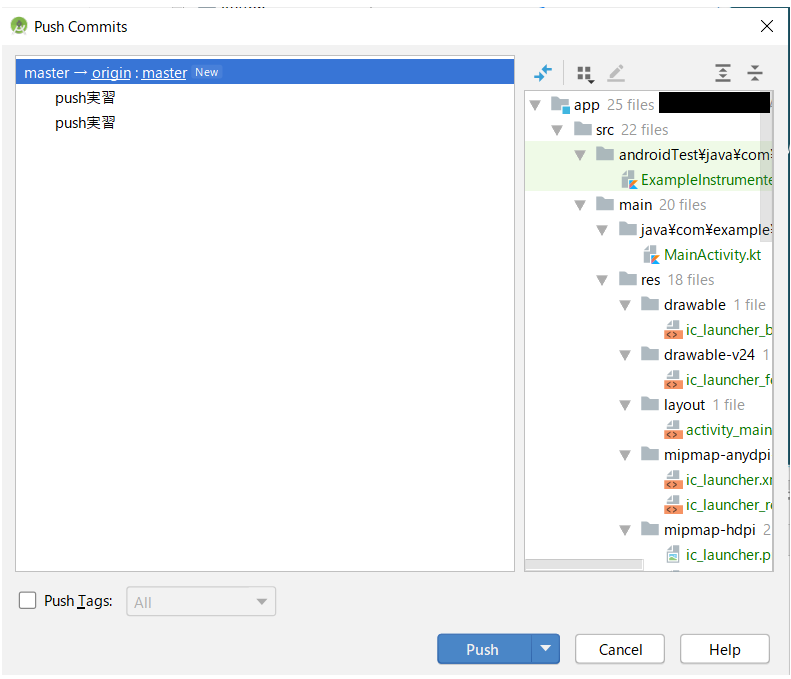
以下のようにPush successfulとメッセージが表示されれば成功です!

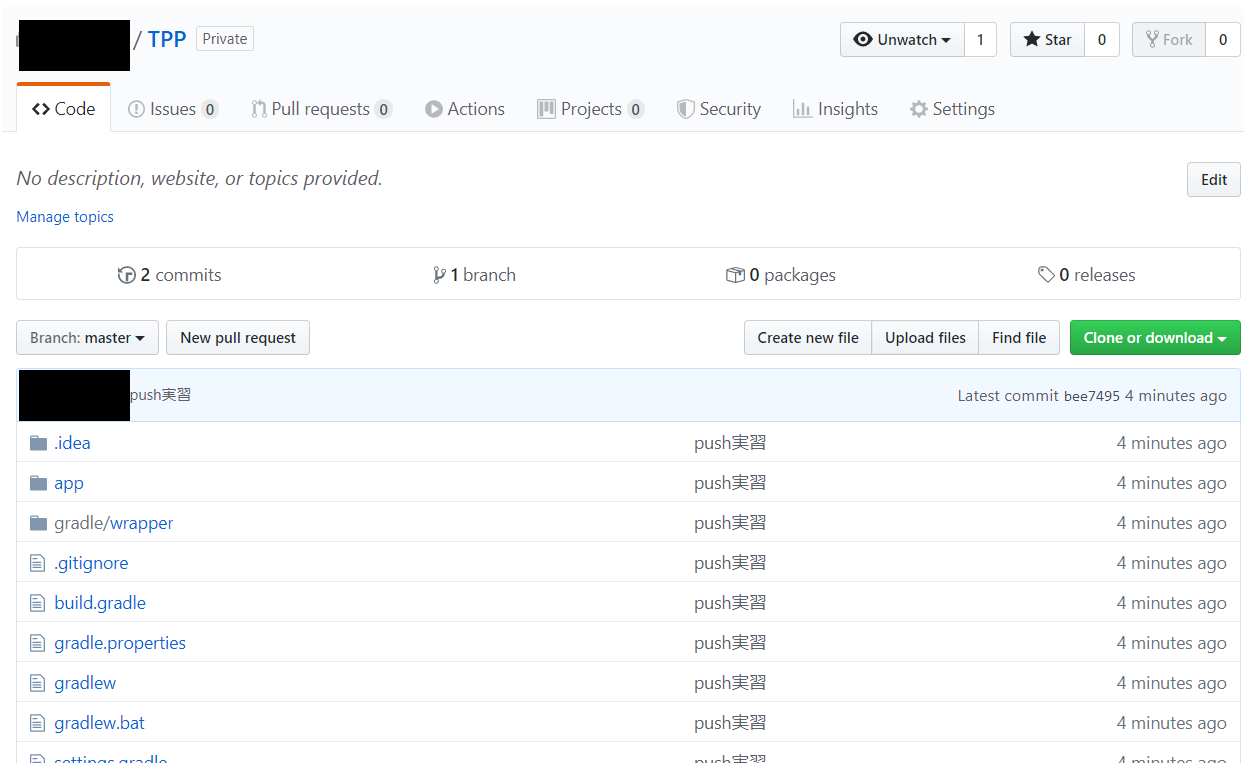
GitHubのほうも確認してみましょう。
再度連携したプロジェクトをクリックして、以下のようにフォルダ表示されていれば成功です。
リポジトリを共有しよう
先ほどのプロジェクトは他の人と共有することができます。
GitHubで共有したいプロジェクトを選択し、
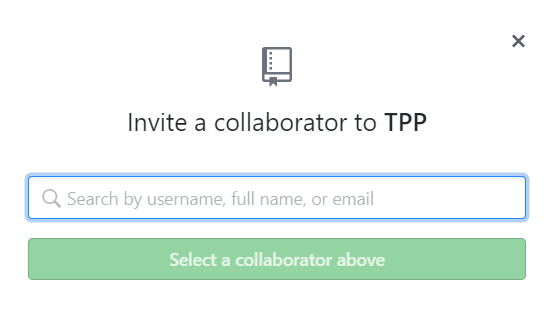
Settings → Manage access → Inbite a collaboratorボタンをクリック

以下のウインドウが表示されるので、共有したい人のメールアドレスを入力してボタンをクリックして招待してください。