
VisualStudioとGitHubを連携~Pull Requestまでの一連の流れと操作方法を解説します。
Contents
はじめに
この記事は、Visual Studio 2019をGitHubに連携させて使う方法を解説しています。
GitHubのアカウントが必要になるので、事前にアカウント作成しておいてください。
VisualStudioとGithubを連携する
GitHub連携プラグインをインストール
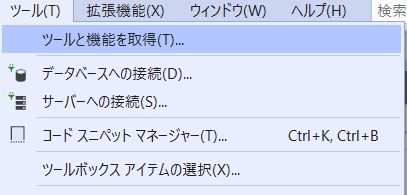
VisualStudio2019でツール → ツールと機能を取得 をクリック
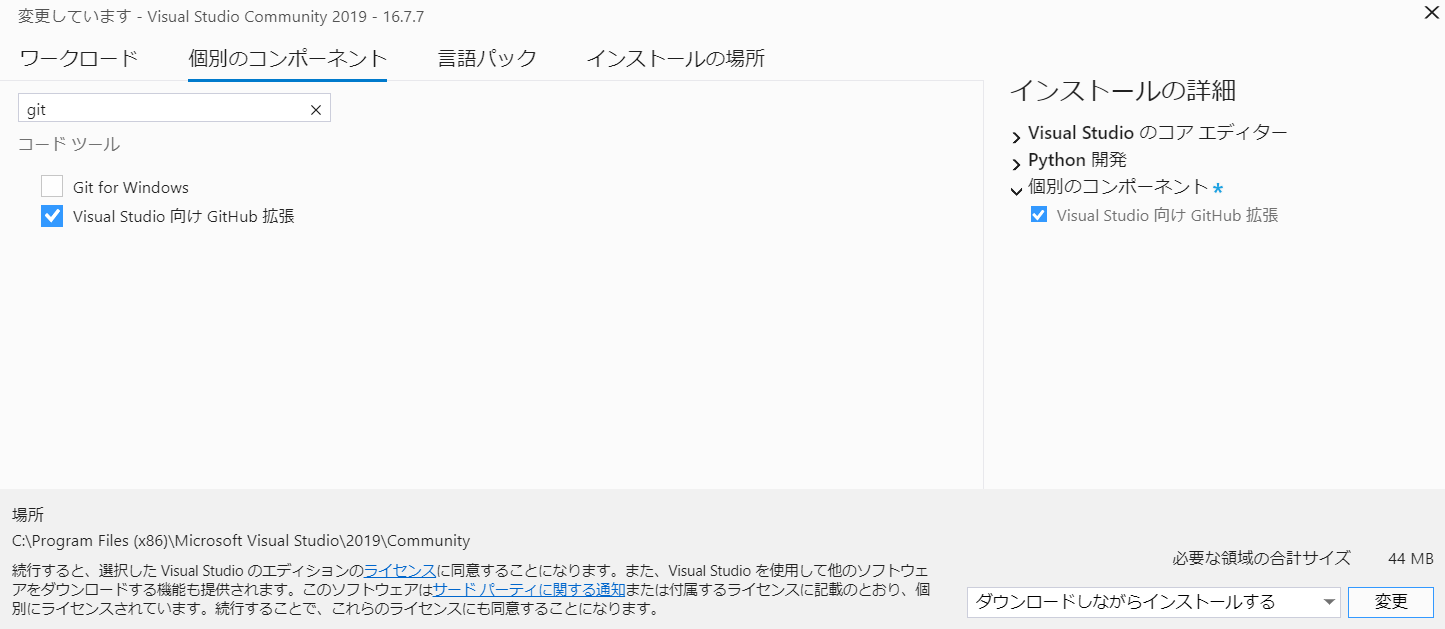
個別のコンポーネントタブを選択、Visual Studio向けGitHub拡張にチェックして変更ボタンをクリック
検索窓でgitと入力すれば一発で出てくると思います。
GitHubに接続する
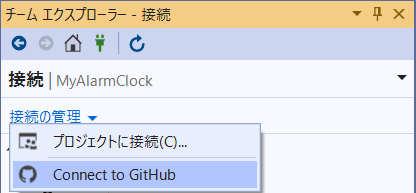
チームエクスプローラーの接続の管理→Connect to GitHubをクリック
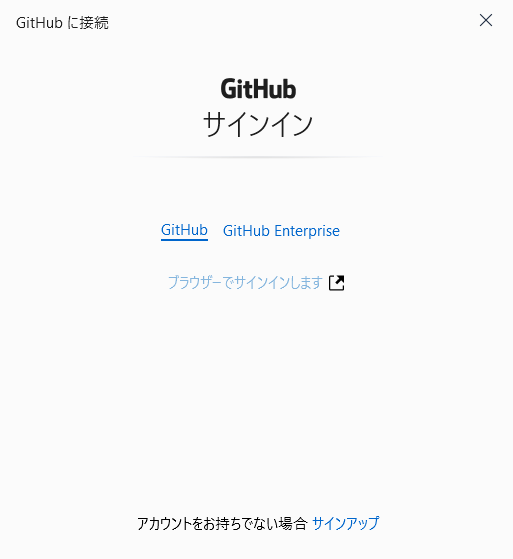
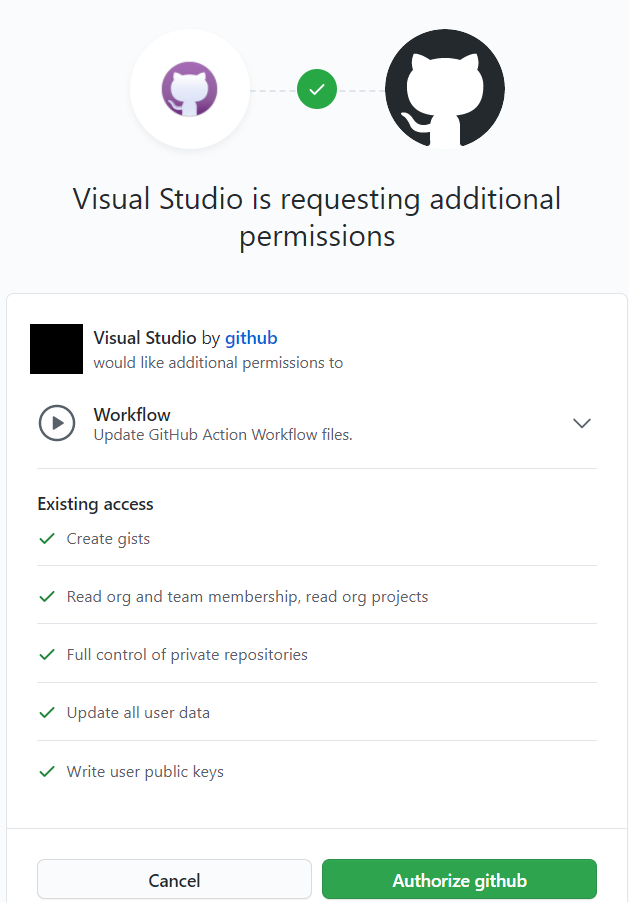
ブラウザーでサインインしますをクリック
Authorize githubをクリック
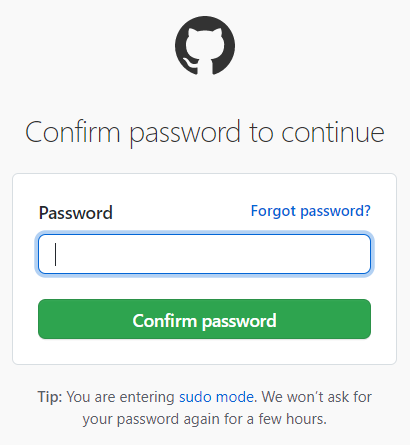
GitHubアカウントのパスワードを入力してConfirm passwordをクリック
開発の流れ
- まずは、開発するプロジェクトをローカルに作成します。
ローカルで一から作成しているのであれば、いいですが、
GitHubからプロジェクトを持ってくる際は、Cloneしてプロジェクトを持ってきてください。 - 実際修正を加える前にBranchを作成して、そっちに修正を入れましょう。
- 修正したら、Commitしましょう。こまめにやっておくのがよいですかね。
- 修正が完了したら、Pushしましょう。GitHubにUpするってことです。
- Pull Requestして、Masterに取り込んでもらいましょう。
- あとは、本番にDeployするなりしてください。
Clone ~ Push まで
Clone
プロジェクトがすでにローカルにある場合は、Clone不要です。
プロジェクトが無い場合で、GitHubから丸々持ってくる場合は、このCloneを実行してください。
VisualStudioではClone=複製と表記されています。
GitHubにアクセスし、CloneするリポジトリのURLをコピーします。

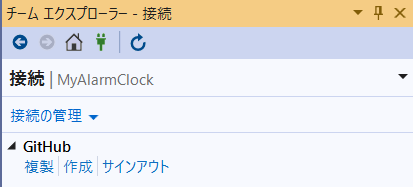
VisualStudio2019側で、チームエクスプローラー→接続→GitHub→複製をクリック
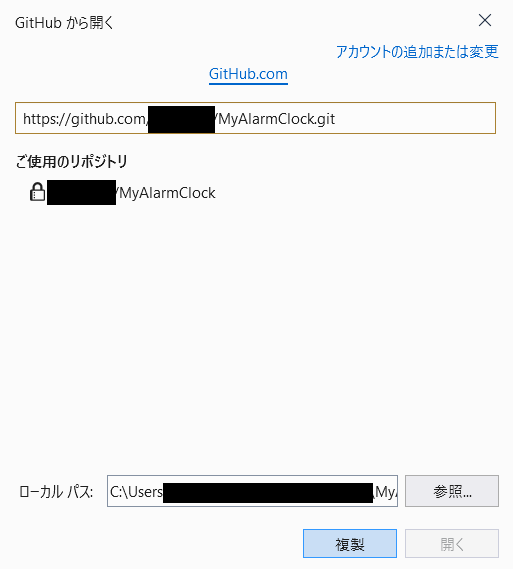
GitHubでコピーしたリポジトリURLを貼り付けて複製をクリック
Branchを作成
Masterに直修正するのではなく、Branchを作ってそっちに修正を入れておきましょう。Branchで修正が一通り終わったら、Masterに反映させます。
右下のmaster→新しいブランチをクリック
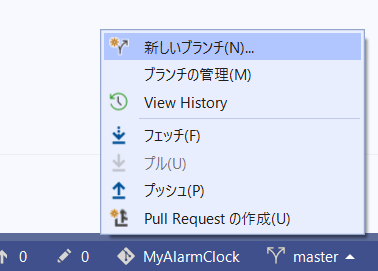
ブランチ名を入力して、ブランチの作成をクリック
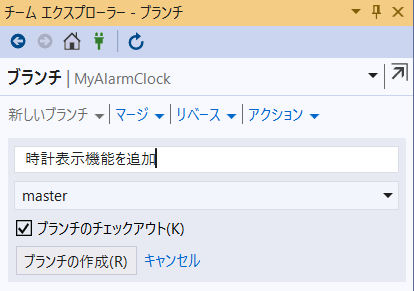
右下の表示が先ほど入力したブランチ名になります。

Commit
修正が終わったら、一旦Commitしましょう。
VisualStudio2019ではCommit=変更と表記されます。
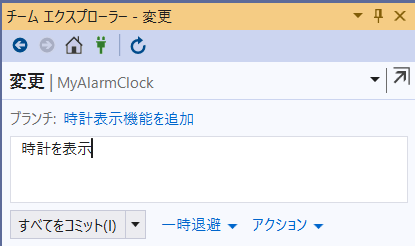
チームエクスプローラー→変更

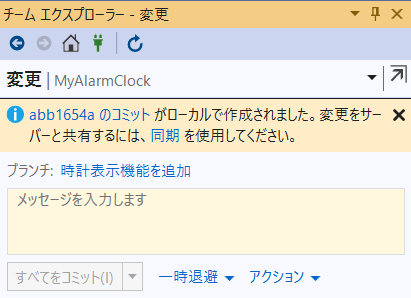
変更した内容を記入して、すべてをコミットをクリック
以下のようなメッセージが表示されれば成功です。
Push
先ほど変更した内容をGitHubに反映させます。
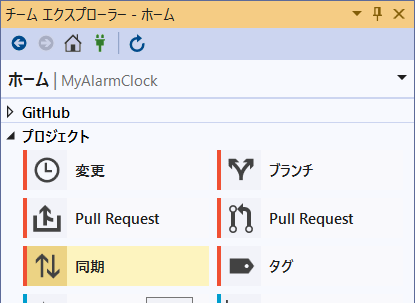
チームエクスプローラー→同期をクリック
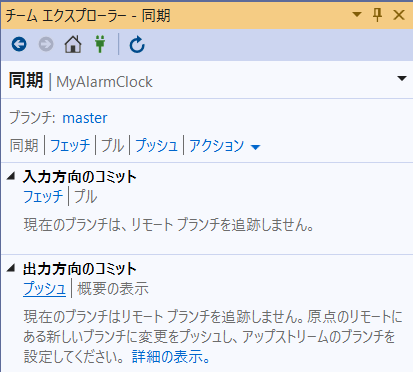
プッシュをクリック
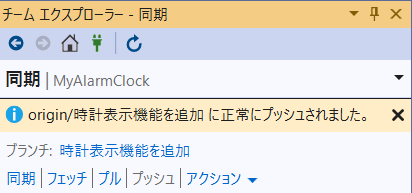
以下のようなメッセージが表示されれば成功です。
Pull Request
変更した内容をmasterに反映してもらいます。
変更内容のレビューを依頼→問題なければ変更内容をMasterに反映、が一連の流れです。
VisualStudio側とGitHub側でそれぞれ作業が発生します。
VisualStudio2019側の作業
ソースをPushしたので、レビューしてMasterに反映(Pull)してください~ってことですね。
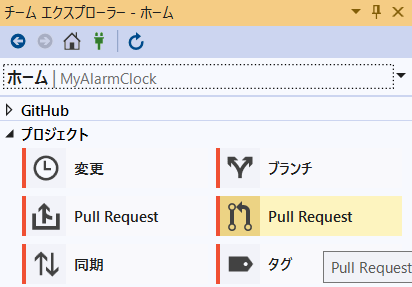
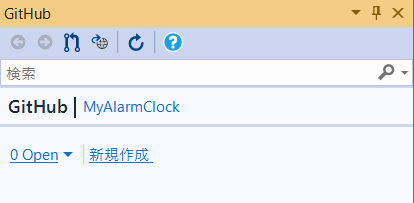
チームエクスプローラー→Pull Requestをクリック
新規作成をクリック
メッセージを適当に記入して、pull requestの作成をクリック
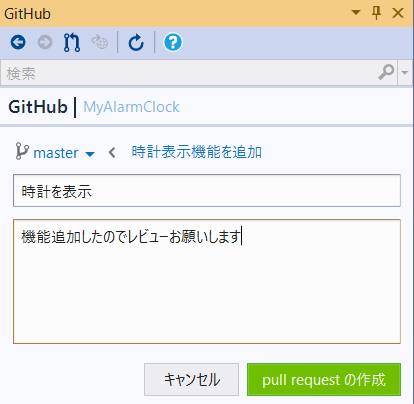
これで、VisualStudio側の作業は完了です。
GitHub側の作業
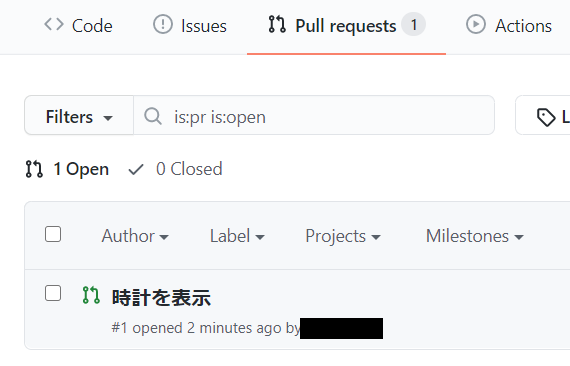
Pull Requestを受けた人が、ソースの内容をチェックして、問題なければMasterに反映します。
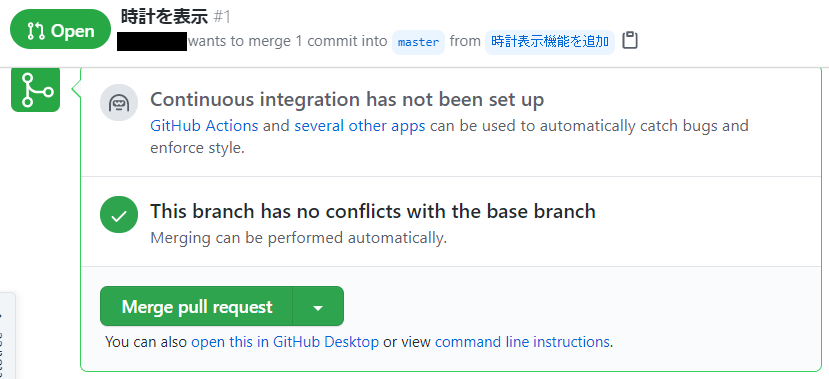
GitHub側のPull requestsタブを見ると、先ほどのリクエストが来ていることがわかります。
変更内容をレビューしましょう。
Files changedタブをクリック。
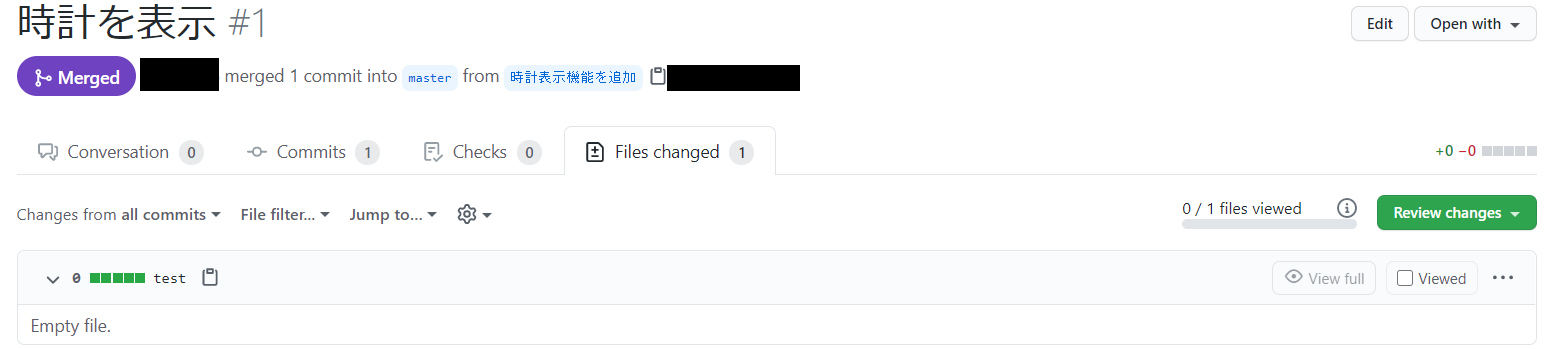
レビューして問題なければViewedにチェック。

Merge pull requestをクリック
Confirm mergeをクリック
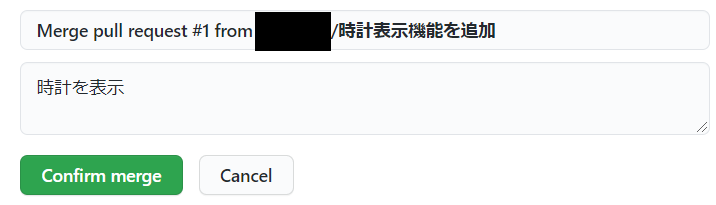
成功しました。

ブランチは不要なので削除します。
Delete branchをクリック

成功しました。

以上で一連の作業は終了です。お疲れ様でした!