Cloud9でGit操作します。Guiででできて簡単・便利!
Cloud9からのGit操作を一通り解説します。
もちろんコマンドで実行することも可能ですが、今回はCloud9で用意されているGUIから操作する方法を解説します。
Cloud9のコード管理については、下記の記事も参考にしてください。
[AWS] Cloud9のプロジェクトをCodeCommitで管理
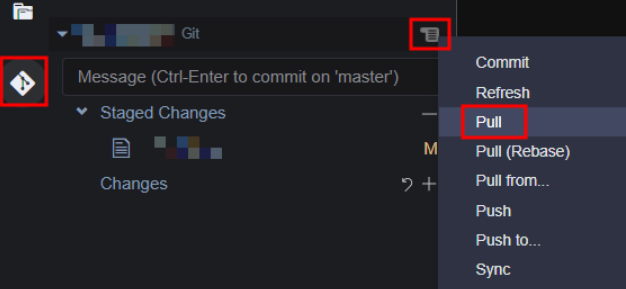
Pull
PullでCodeCommitから最新バージョンをもってきます。
Gitアイコン → プロジェクト名横のアイコン → Pull
ブランチを作る
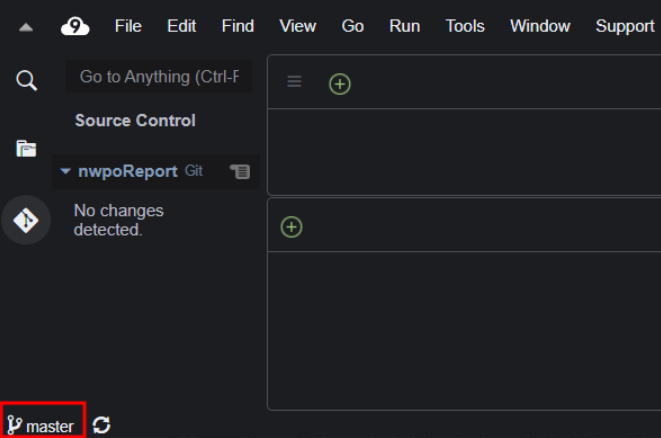
プログラムを修正する前に、新しくブランチを作成しましょう。
左下のブランチ名をクリック
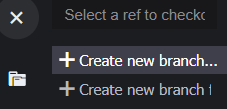
Create new branch… をクリック
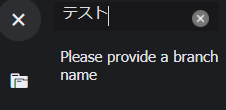
ブランチ名を入力してenter
左下のブランチ名が新しいものになります。

作成したブランチでプログラムを修正していきます。
Commit
プログラムを修正したらCommitします。
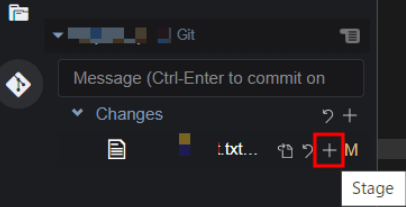
変更したファイルは Gitアイコン → Changes に一覧表示されます。
Commitしたいファイル横の + (stage)をクリックします。
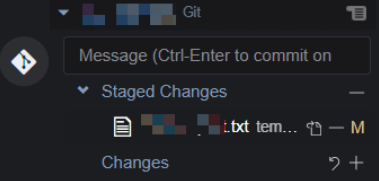
Staged Changesに移動しました。これでコミット対象になりました。戻したいときは – (Unstage)をクリックします。
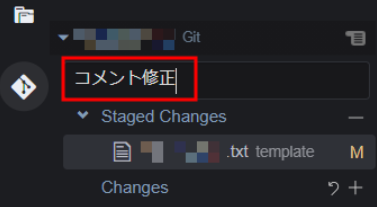
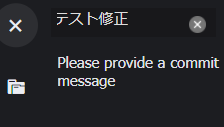
メッセージ欄にコメントを入力して Ctrl + enter。メッセージはなんでも良いです。変更内容などを書きましょう。
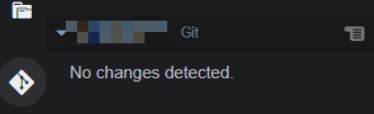
No changes detected と表示されれば成功。
プロジェクト名横のアイコンからもCommitできます。アイコン → Commit
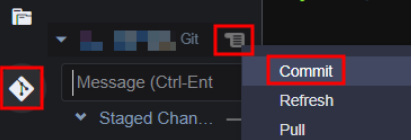
メッセージを入力してenter。
Push
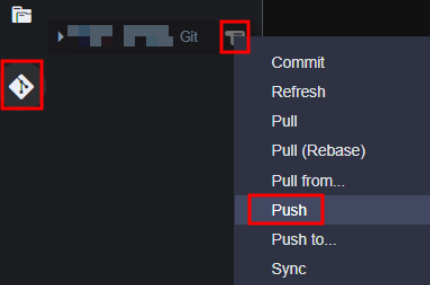
CodeCommitに修正内容をPushします。
Gitアイコン → プロジェクト名横のアイコン → Push
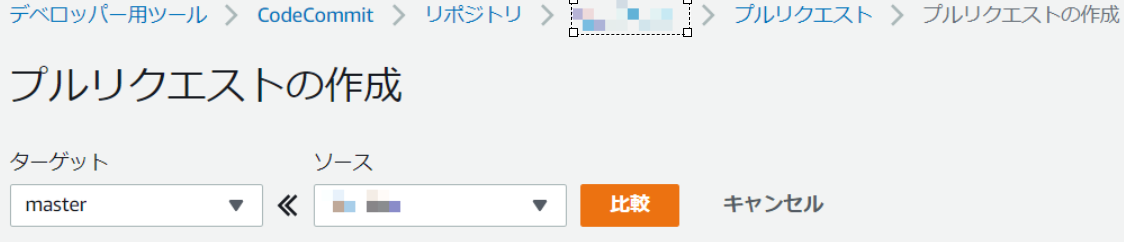
Pull Request
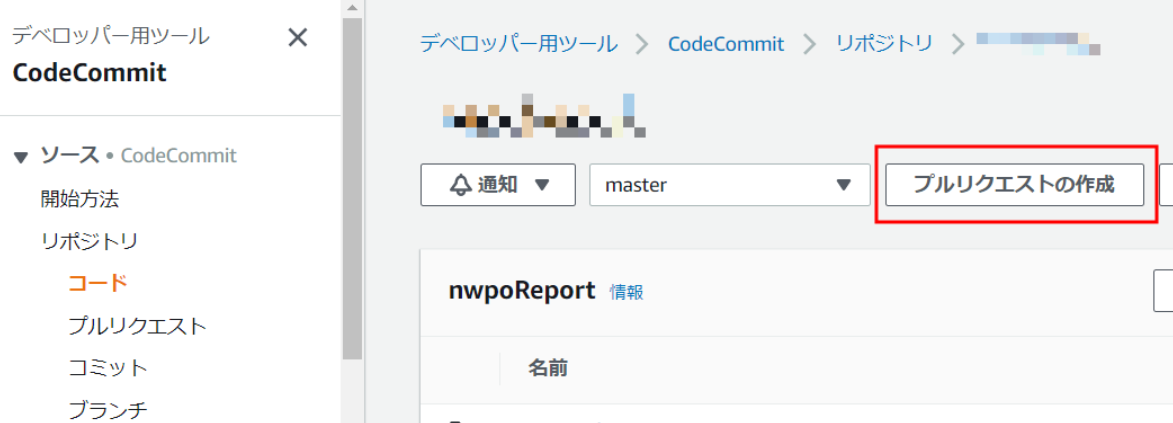
CodeCommitからPull Requestを実行します
リポジトリ → Pull Requestするプロジェクトを選択 → プルリクエストの作成
ソースに対応したブランチ名を選択して比較をクリック
以上で終了です。