Welcome to Annotify! This powerful screen annotation tool helps you draw, highlight, and annotate directly on your screen during presentations, online meetings, and screen recordings.
Download Annotify from the Mac App Store and install it on your Mac.
2Grant Permissions
When first launching, grant the required screen recording permission (see Section 2).
3Access from Menu Bar
Annotify runs in your menu bar. Click the Annotify icon to access all features.
2. Required Permissions
Screen Recording Permission
Annotify requires screen recording permission to display annotation overlays and cursor highlights on your screen.
How to Grant Permission
1
Open System Settings (or System Preferences on older macOS)
2
Navigate to Privacy & Security → Screen Recording
3
Find Annotify in the list and enable the toggle
4
Restart Annotify if prompted
Note: Without screen recording permission, Annotify cannot display annotations or cursor highlights on your screen.
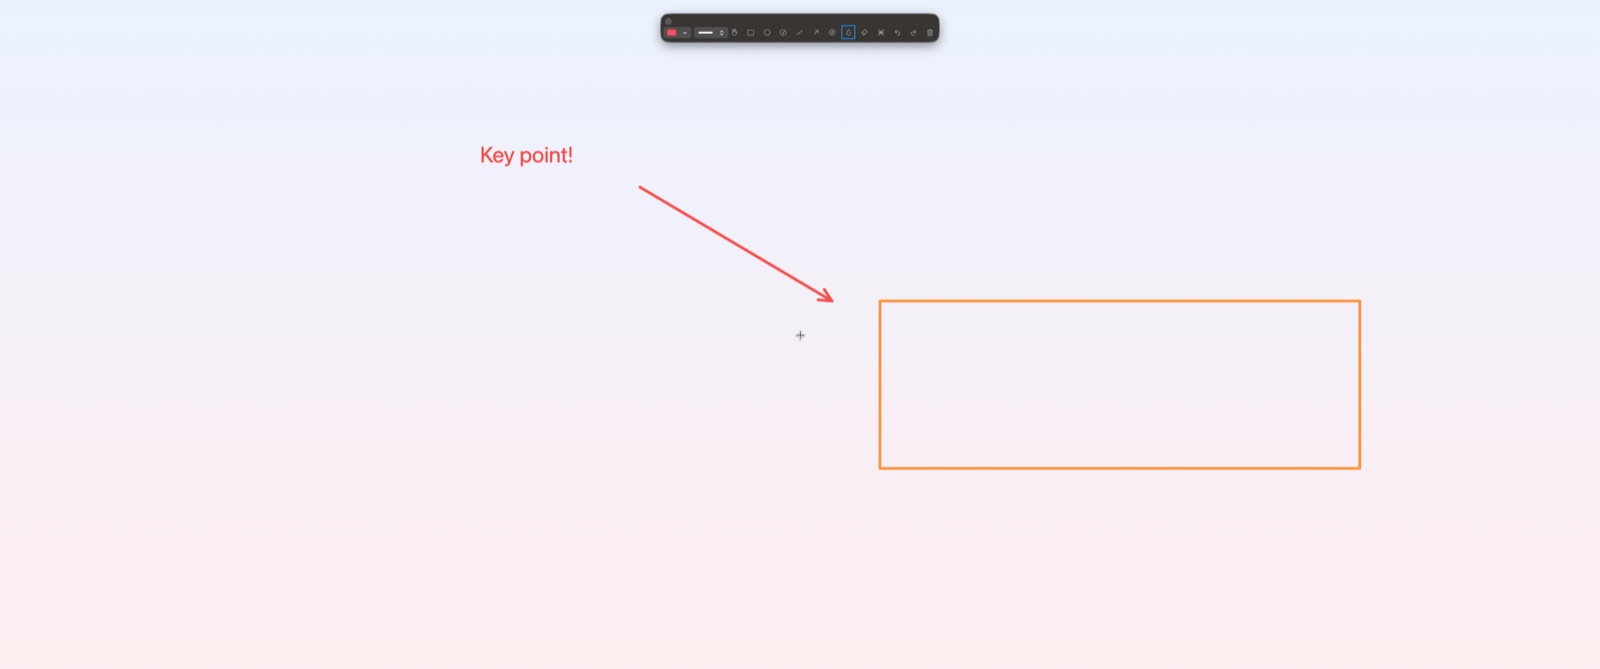
3. Annotation Tools
Annotify provides a comprehensive set of drawing tools for all your annotation needs. Each tool has a keyboard shortcut for instant access. Note: macOS uses Ctrl (⌃), not Cmd (⌘) — these are different keys.
Freehand Drawing ⌃⇧F
Draw freely on the screen
Arrow ⌃⇧A
Point to important elements
Arrow with Comment ⌃⇧W
Arrow with inline text comment (Shift+Enter for newline). Double-click any arrow comment to re-edit it.
Line ⌃⇧L
Draw precise straight lines
Rectangle ⌃⇧R
Highlight rectangular areas
Circle/Ellipse ⌃⇧C
Circle important content
Text ⌃⇧T
Add text annotations (Shift+Enter for newline)
Numbered Step ⌃⇧N
Draw numbered step badges to label sequential actions in tutorials and screenshots
Eraser ⌃⇧E
Remove specific annotations
Mosaic ⌃⇧M
Pixelate sensitive information (updates in real time when background changes)
Clear All
Remove all annotations
Passthrough Mode
Annotify remembers your last selected tool, or starts in passthrough mode (hand icon) on first launch — in passthrough mode your Mac operates normally and clicks pass through to applications below. Activate a drawing tool when you need to annotate, then press Esc or click the same tool button again to deselect it and return to passthrough mode. You can still select, move, and resize existing annotations in passthrough mode.
Color Palette
Choose from 10 colors via the dropdown menu:
Pink
Orange
Yellow
Green
Teal
Blue
Indigo
Purple
White
Black
Toolbar Customization
Right-click the toolbar to show or hide individual tools. Keep only the tools you use most for a cleaner workspace.
Using Annotation Mode
1
Press Ctrl + W to enter annotation mode (Annotify will restore your last tool, or start in passthrough mode on first launch)
2
Select a drawing tool from the toolbar or press its keyboard shortcut (e.g., Ctrl + Shift + R for rectangle)
3
Draw on the screen — annotations appear as overlays above all applications
4Select & Edit: In passthrough mode, click any annotation to select it. Drag to reposition, use corner handles to resize, or use the green rotation handle above the selection to rotate. Double-click text or arrow comments to edit them. Press Delete to remove a selected annotation.
5
Press Esc to deselect the current tool. Press Esc again (or Ctrl + W) to exit annotation mode. If annotations exist, a confirmation dialog will appear.
4. Cursor Highlight
Make your cursor more visible with animated ripple effects - perfect for presentations and tutorials.
Features
Three highlight modes: Ripple (animated expanding circles), Crosshair (precise targeting lines), and Circle (colored circle following your cursor)
Customizable highlight color
Adjustable ripple direction (center or top-right)
Animation toggle to enable or disable animated effects for all modes
Works independently of annotation mode
Tip: Cursor highlight is especially useful during video calls and screen recordings where viewers may have difficulty following your cursor.
5. Keyboard Shortcuts
Annotify's global hotkeys work even when the app isn't in focus:
Shortcut
Action
Description
Ctrl + W
Toggle Annotation Mode
Start or stop screen annotation
Ctrl + Q
Toggle Cursor Highlight
Enable or disable cursor ripple effect
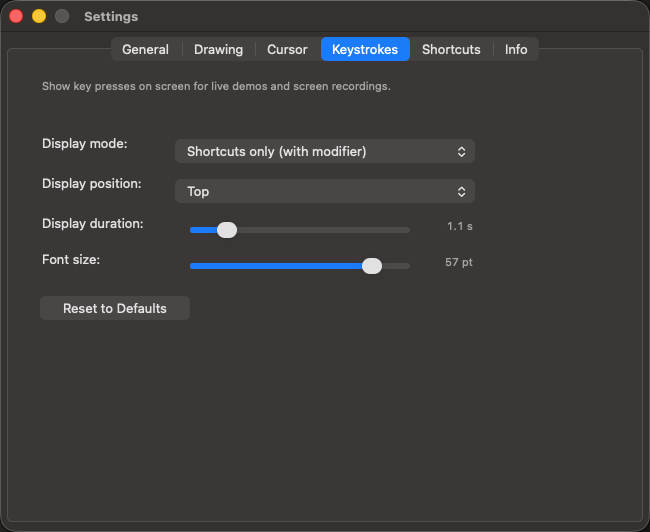
Ctrl + K
Toggle Keystroke Display
Show the keys you press on screen — great for tutorials and screen recordings
Ctrl + S
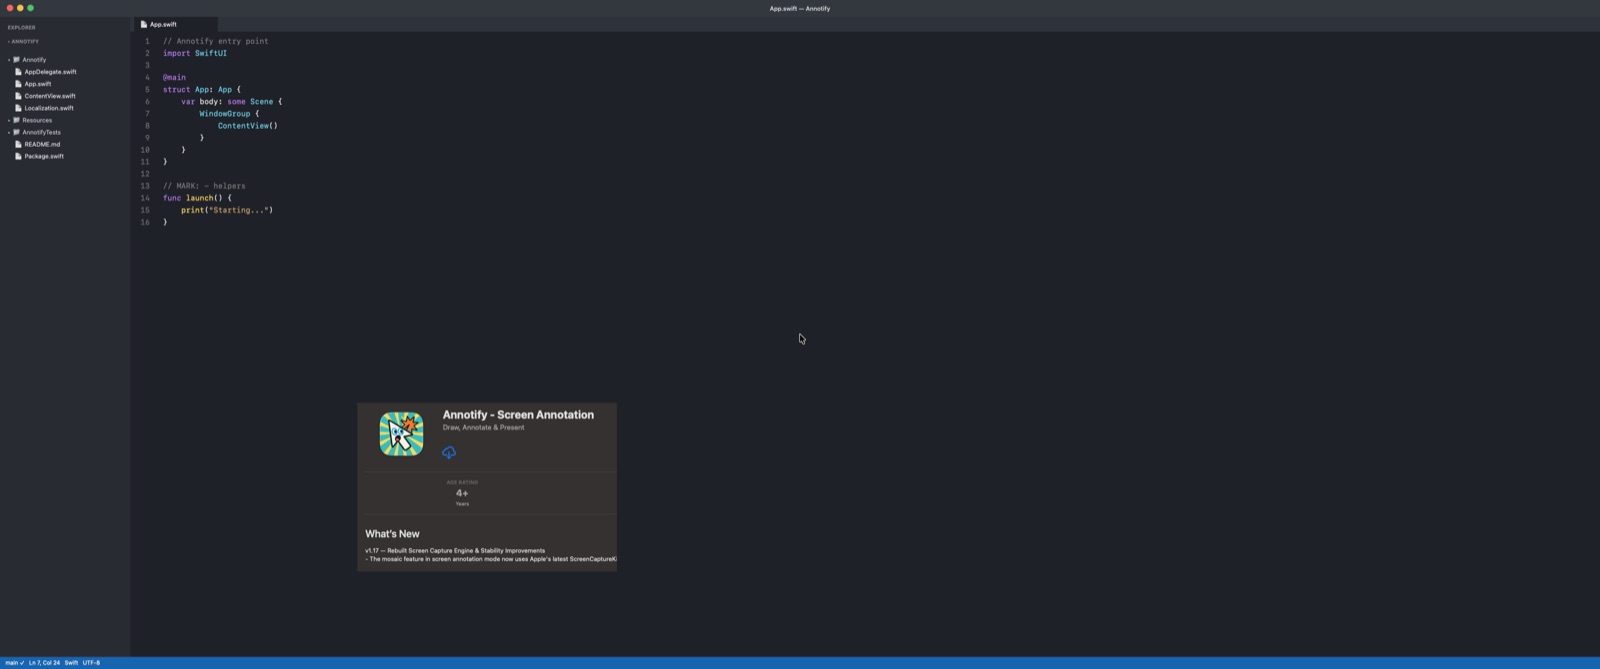
Floating Capture
Capture an area and display it as a floating window
Esc
Deselect Tool / Exit
If a tool is active: deselect tool (return to passthrough). If no tool is active: exit annotation mode (with confirmation if annotations exist).
Delete / ⌫
Delete Selected
Remove the currently selected annotation
Drawing Tool Shortcuts
While in annotation mode, press these keyboard combinations to quickly switch tools. Note: macOS uses Ctrl (⌃), not Cmd (⌘):
Shortcut
Tool
Ctrl + Shift + R
Rectangle
Ctrl + Shift + C
Circle
Ctrl + Shift + F
Freehand
Ctrl + Shift + L
Line
Ctrl + Shift + A
Arrow
Ctrl + Shift + W
Arrow with Comment
Ctrl + Shift + T
Text
Ctrl + Shift + N
Numbered Step
Ctrl + Shift + M
Mosaic
Ctrl + Shift + E
Eraser
6. Floating Capture
Capture any area of your screen and keep it floating on top, allowing you to reference content while working on other tasks:
1
Press Ctrl + S to activate floating capture
2
Select the area you want to capture (press Esc to cancel)
3
The captured image appears as a floating window that stays on top of all applications
Tip: You can also capture directly from the toolbar camera button. Click to copy to clipboard. Hold Option while clicking to also save to a specified folder.
Tip: Floating capture is perfect for referencing information from one application while working in another - no more switching back and forth between windows.
7. Settings & Customization
Access settings from the menu bar icon to customize Annotify:
Drawing Settings
Mosaic Intensity: Adjust the strength of the mosaic pixelation effect with a live preview — drag the slider to see changes in real time
Line Width: Choose from 4 preset widths (2px, 4px, 8px, 12px)
Font Size: Choose from 5 preset sizes (12pt, 16pt, 24pt, 32pt, 48pt)
Cursor Highlight Settings
Highlight Type: Choose between Ripple, Crosshair, or Circle effects
Highlight Color: Choose your preferred highlight color from presets or custom colors
Ripple Direction: For Ripple mode, set animation direction (center or top-right)
Enable Animation: Toggle animated effects on or off for all highlight modes
Shortcut Keys Tab
The Settings window includes a dedicated Shortcut Keys tab that lists all keyboard shortcuts in one place — perfect for quick reference while learning Annotify.
Language
Annotify supports multiple languages: English, Japanese, French, and German.
8. Subscription & Pricing
Free Trial
All new users receive a 30-day free trial with full access to all features.
Monthly Subscription — Annotify Pro
Price: $0.99/month (USD)
Billing: Charged to your Apple ID account
Renewal: Auto-renews unless cancelled 24 hours before period ends
Trial: 30-day free trial included
Lifetime Pro — One-Time Purchase
Prefer to pay once? Lifetime Pro is available as an in-app purchase for a one-time fee of $19.99 (USD). You get full access to all features with no recurring charges, ever.
Price: $19.99 (USD), one-time
Access: All features, no subscription required
Updates: All future updates included
How to purchase Lifetime Pro: Open Annotify, go to Settings from the menu bar icon, and look for the "Lifetime Pro" option under the subscription section.
Managing Your Subscription
1
Open App Store on your Mac
2
Click your account name at the bottom of the sidebar
3
Click View Information
4
Scroll to Subscriptions and click Manage
9. Troubleshooting
Annotations Not Appearing
Verify screen recording permission is granted in System Settings
Restart Annotify after granting permissions
Ensure you've pressed Ctrl + W to enter annotation mode
Hotkeys Not Working
Check if another app is using the same keyboard shortcuts
Verify Annotify is running (check menu bar)
Restart Annotify
Cursor Highlight Not Visible
Press Ctrl + Q to enable cursor highlight
Check cursor highlight settings for color visibility